In this tutorial, I show you how to do it using either Photoshop Elements or Photoshop CS. I much prefer to use Elements for designing, dragging, dropping and resizing, so forgive me if I haven't shown you the easiest way to do steps in CS.
First decide on how large your overall image needs to be - this may be the width of your blog, or the size of your canvas.
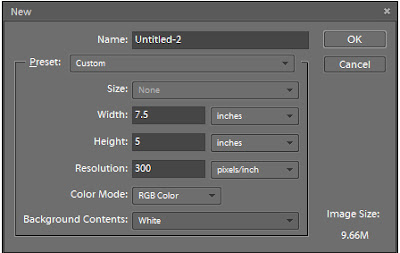
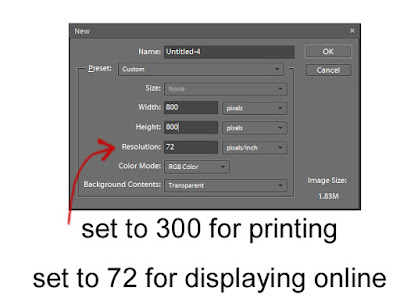
Create a new document in PS and set it to the dimensions you want - the width of your blog for example. If you want to create a 30x20 inch canvas, that would create a huge image and file size to work with if you used 30 x 20 inches - so divide into more manageable numbers (eg, 30 inches in half is 15 inches divided in half again is 7.5 inches, 20 inches in half is 10 inches divided in half again is 5 inches) Work with whatever size your computer can cope with. Mine would slow down too much if I didn't scale down. Just bear in mind your eventual output may need to be high resolution if you are printing something like a wedding album.
Now I'm going to add my background design - if you want just a plain background, either set your Background Content to white, or recolour your background and skip the following step.
In Photoshop Elements
In Photoshop CS
Now I'm going to create the layout for where I want to place my images.
In Photoshop Elements
In Photoshop CS
You will see that all of your shapes are now on their own layers - you've created layer masks!
Each shape is now on its own layer
Now to add your images
I selected and opened the images I wanted to choose to use from my computer
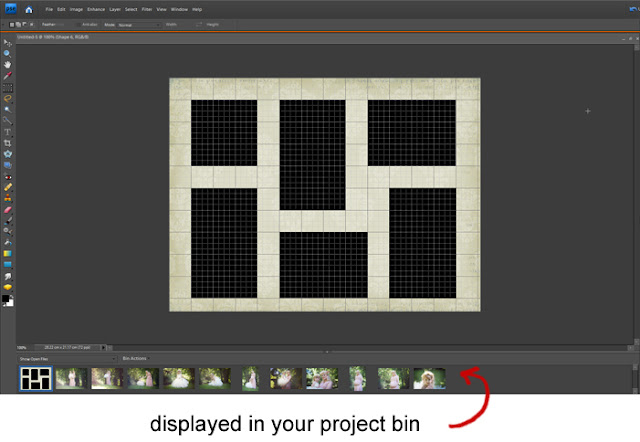
In Photoshop Elements they will automatically be displayed in your project bin like this
However, Photoshop CS makes you do a lot more work - even more so since Adobe appear to have removed the Browse in Mini Bridge option <frowny sulky face> :
Disclaimer : I do not reguarly use CS for this kind of work, as Elements is so much easier - so if anyone knows of an easier way to do the next step, please let me know in the comments!
Let's get those images into your template!
In Photoshop Elements
1. Drag and drop your chosen image onto your layout
2. Look across to your layers and place the image layer above the relevant shape layer
3. With your cursor over the dividing line beween image and shape, press the ALT button on your keyboard - you have now clipped your image to your mask!
4. You can now resize your image to whatever size you want and it will always stay the same shape as your mask
In Photoshop
There are a few more steps you need to take in CS
1. Drag and drop your chosen image onto your layout from your resized Bridge view
2. CS will ask if this is where you want to place your image - click the green tick to confirm
3. Look across to your layers and place the image layer above the relevant shape layer
4. With your cursor over the dividing line beween image and shape, press the ALT button on your keyboard - you have now clipped your image to your mask!
5. To resize your image, make sure you have selected the correct image layer to work on (in Elements you are able to just click on the image, but you have to tell CS which layer of your document you want to make adjustments to), press CTRL+T to get your drag handles. Make sure to keep holding the shift button on your keyboard to retain the proportion whilst resizing.
And that's it!
You can use any shape you like - as long as it's on its own layer, you can clip an image to it.
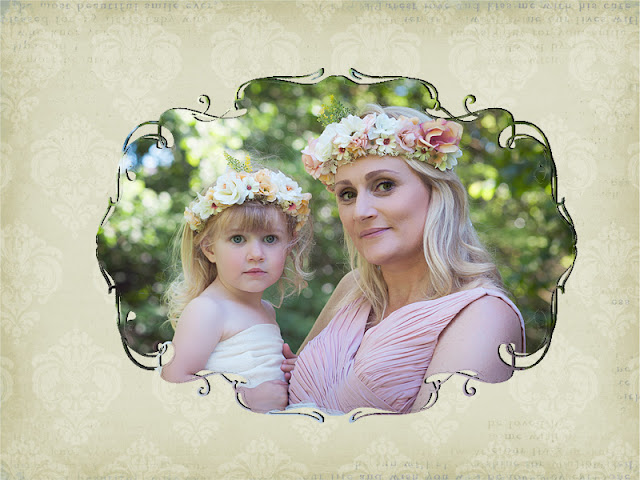
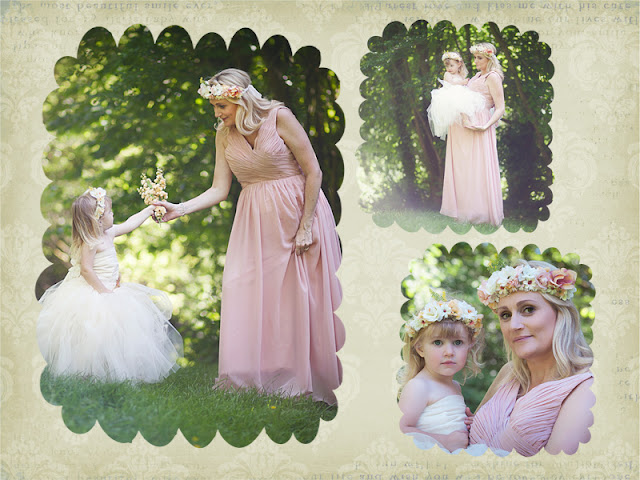
Here's the one I created as part of the tutorial
And here are some examples of playing with shapes. I just put a shape on a transparent layer and clipped an image to it!
Putting your images online in a shaped mask means people are less likely to download and print them.
I hope you find this tutorial useful, easy to follow and informative!
But if the thought of all these steps makes you cry - I sell some pre-made templates here :



No comments:
Post a Comment