
Great fun to place older babies inside a brick chimney with a Santa hat on during your Christmas photoshoot session!

You will need
(1) Square cardboard box large enough for a child to sit in
(2) Brick print wallpaper - I got my roll for £5 from a large DIY store
(3) Scissors
(4) Double sided tape and a hot glue gun or PVA glue
(5) Dark fabric - I happened to have a dark brown beanbag blanket that I no longer use, but you could use dark felt, dark paper, you just need something that is dark and plain - you could buy a cheap black pillowcase, or use more of the brick print wallpaper if you have enough left
(6) Optional extra - if you have ever ordered rolls of plain background paper, you will recognise this cardboard square tube - it is perfect for a finishing touch, but not essential.

Step 1

Place double sided tape around all edges of your box, including inside the top.
Step 2
Peel off the tape on one side of the box at a time and cover with your brick wallpaper, wrapping over the top lip and securing on the inside. I made sure the edge of the wallpaper lined up to the edge of one side of the box and then trimmed the excess from the other side.
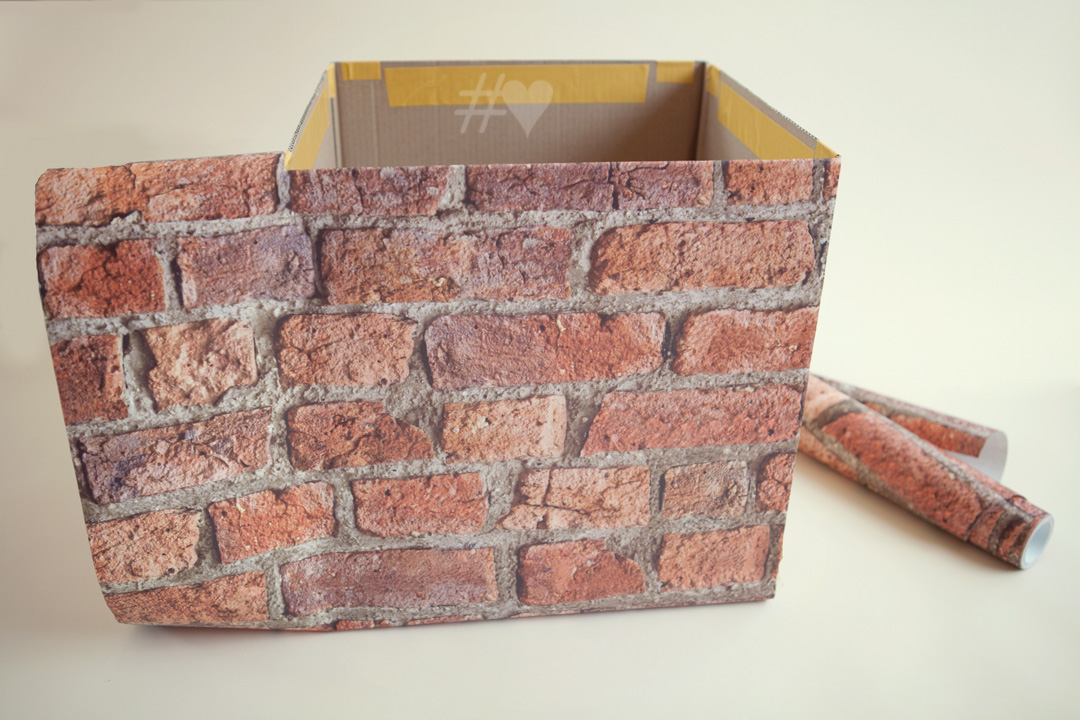
If you have enough wallpaper, remember to line up the mortar lines at each edge of the box.

Double sided tape gives you a mess-free smooth finish.
You might choose to leave your box like this, but I don't like seeing the bare cardboard on the inside, so now I will show you how to finish the inside.

Step 3
Using your hot glue gun / PVA glue cover the inside of your box with your dark fabric / paper. You only have to cover 3 sides as you will never see the inside of the front of the box.

You also don't need to fully cover all the way to the bottom on either side if you are short on fabric / patience.

I think this looks much neater, and again, you may want to leave your box like this.
Or you might want to give the outside a finishing touch
Step 4

All I did was use the same fabric to cover cardboard from the square tube which was the perfect width and then glued around all edges.
Weight the bottom of the box, place a cushion inside if necessary and sit your child inside!

Use fake snow / wadding around the bottom

Use one of my Christmas rooftop backrounds behind your chimney!


View all my Christmas Backdrop Designs here
I hope you enjoy this tutorial and perhaps have a go at making one for your photography studio - if I can do it, you definitely can! Please show me any images you take!
Another project for me to try, might be Christmas 2016 before I get a chance with everything else I want to make. Great tutorial, thanks.
ReplyDelete