
In this tutorial I show you how to make pom-poms from tulle net fabric.
They are a fun and simple way to make fun and funky props for cake smash photography sessions.
You will need:
1) Cardboard
2) Stiff tutu net fabric
3) Ribbon or string to tie and fasten your finished pom-poms
4) 2 round objects of different sizes
2) Stiff tutu net fabric
3) Ribbon or string to tie and fasten your finished pom-poms
4) 2 round objects of different sizes
5) Pen or pencil
6) Scissors to cut cardboard
6) Scissors to cut cardboard

Step 1
Draw around your larger round object and then the smaller size in the middle to create a dougnut.
You do not have to be exact with your placement.
I did mine by eye and although it's slightly off centre, it did not effect my finished pom-pom.


The measurement from outer edge to inside circle determines the size of your finished ball.
Mine measured 3 inches which resulted in a 6 inch pom-pom.
Increase or decrease that measurement for a larger or smaller ball.

Step 2
Cut 2 doughnut shapes from your cardboard and place together.

Step 3
Fold your fabric a few times and then cut into strips about 1 inch wide.
Again, you do not have to be accurate - I had some thick and some thin strips.

Step 4
Get winding!
Wrap your tulle strips round and round your doughnut layering as you go round.

Step 5
The more times you go round with your fabric the fuller your pom-pom is, but generally, you do not need to wrap around any more than about 10 times.

Step 6
Insert your scissors between the two layers of cardboard and cut.
Try and hold the tutu in place as you cut round.

Step 7
Insert your ribbon or string between the cardboard layers, pull tight and tie in a knot

Step 8
Remove the cardboard and gently fluff out your pom pom.


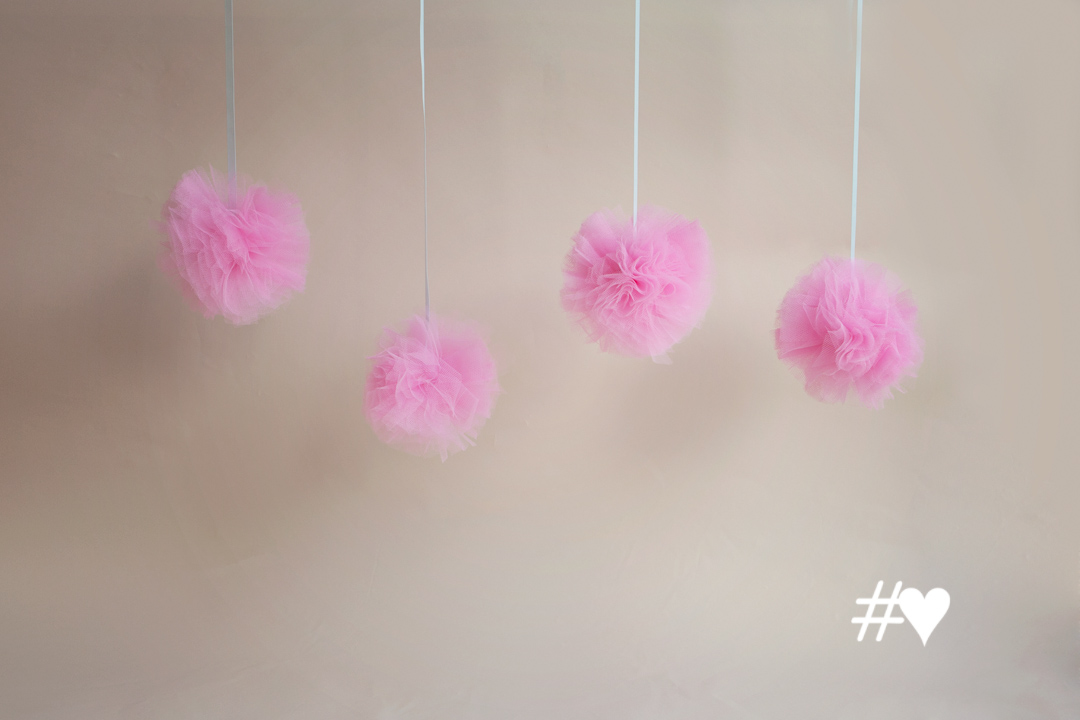
Why not make tutu pom-poms along with tissue paper pom-poms I've already shown you how to make (here)
Make some orange and black ones for Halloween, or lots of small white ones as snowflakes for Christmas sessions.
No comments:
Post a Comment